
Pizza and Bread Baking Tools: What You Need for Every Step

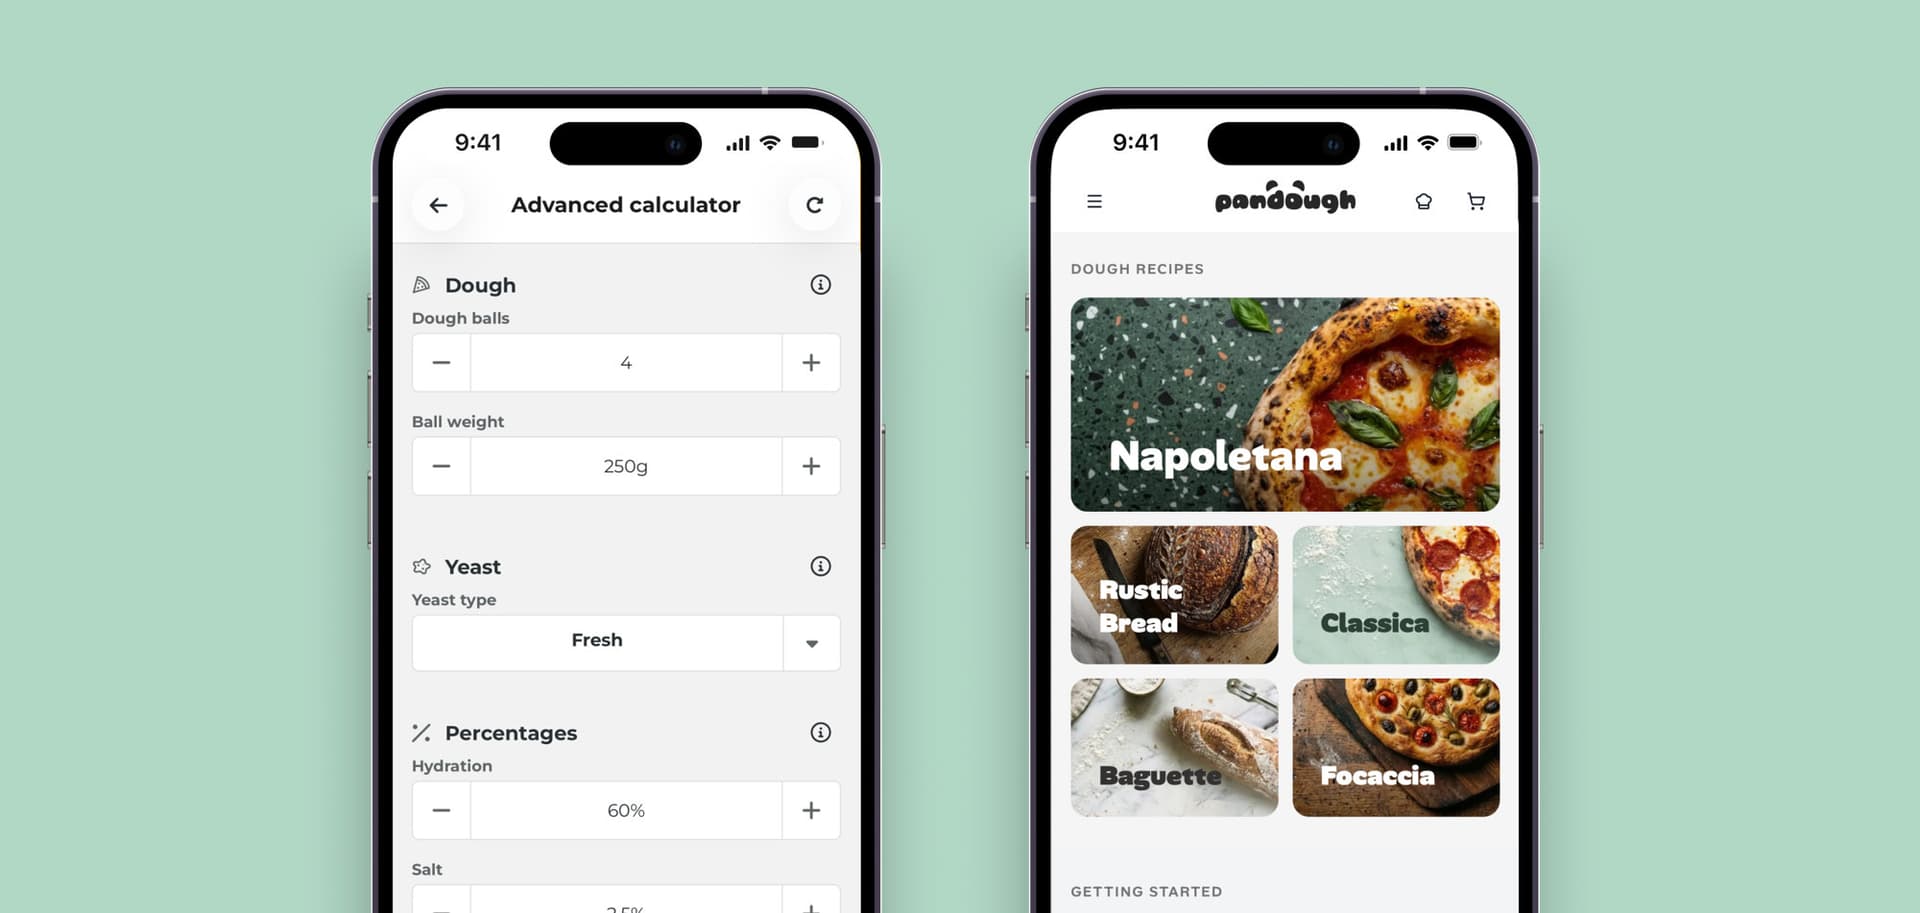
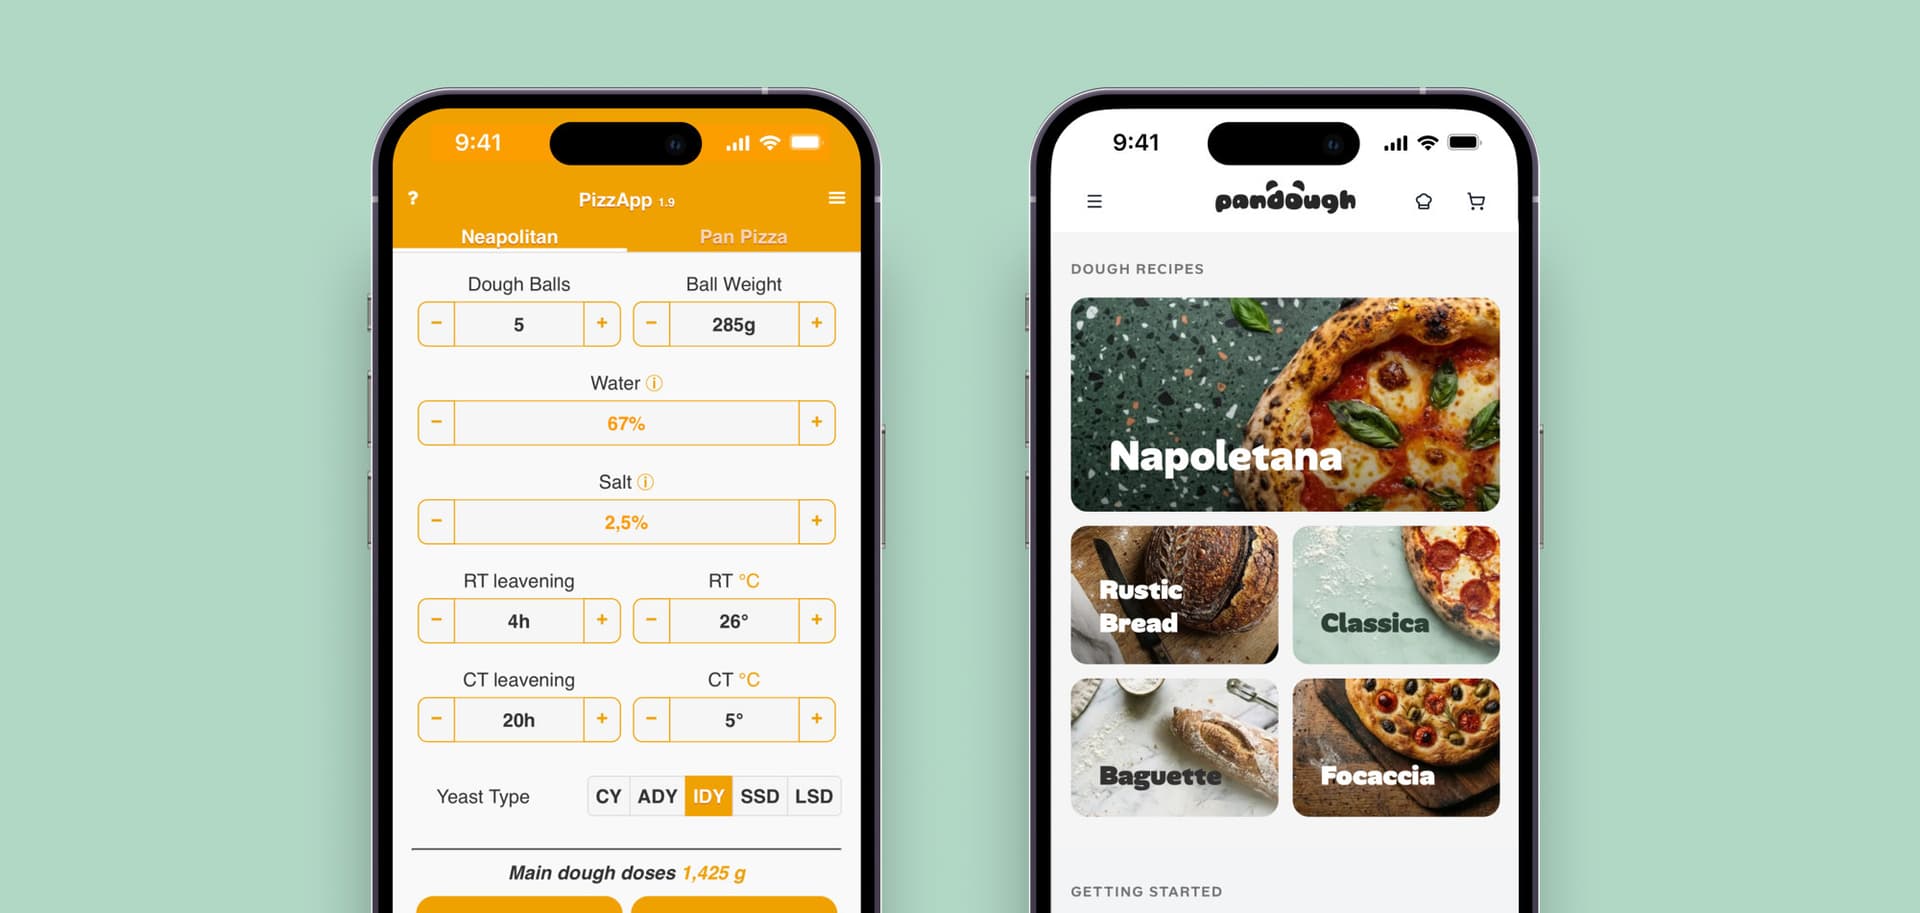
A dough plan is a list of numbers: 0.4 g of yeast, water at 19°C, a stone at 430°C. The Pandough calculator works those numbers out for your flour, your kitchen and your oven, and the step-by-step instructions tell you what to do with them. Both assume you can measure what they ask for. This is the full list of tools the instructions name, for pizza and for bread, with an honest note on which ones you need and which ones you can leave in the shop.
In short
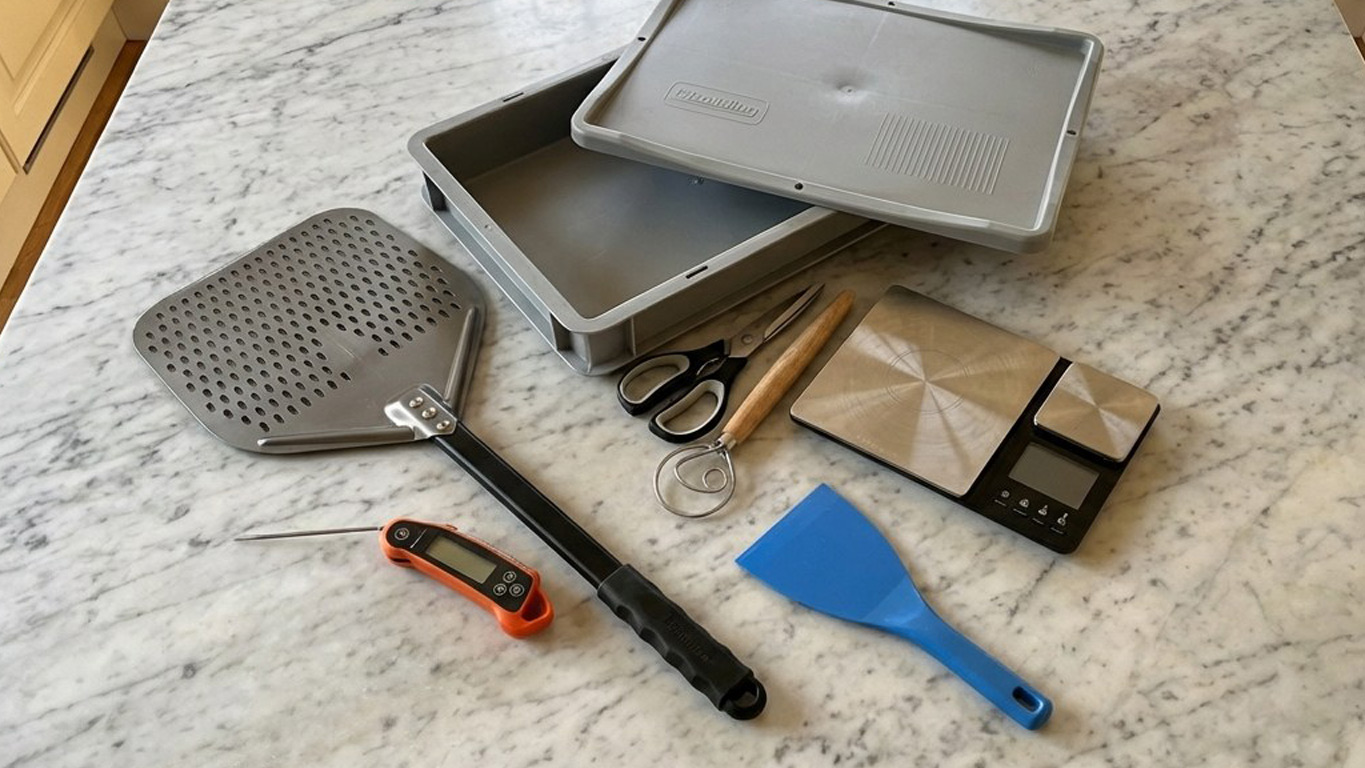
- Four tools cover almost every plan: a 1 g kitchen scale, a probe thermometer, a dough scraper and a lidded container.
- The cheapest upgrade with the biggest effect is a pocket scale that reads to 0.01 g. Yeast doses for a preferment are fractions of a gram.
- A probe and an infrared thermometer do different jobs. One goes into water and dough, the other reads the counter and the stone.
- Flat beats deep for bulk dough. The plan assumes a slab about 3 cm thick, so pick a wide, shallow container with a lid.
- Buy for the bake you make. A banneton, a cast-iron pot or a Detroit pan each serve one family of bakes. Nobody needs all of them.
Who needs what
Every plan starts with the same line: set out your tools. Which tools depends on the bake. This table sorts them, so you can skip the sections that do not apply to you.
| Tool | Who needs it |
|---|---|
| Kitchen scale (1 g), probe thermometer, dough scraper, bowl, lidded container | Everyone, every bake |
| Precision scale (0.1 g or finer) | Preferments, long cold doughs, small batches |
| Infrared thermometer | Pizza on a stone or steel, any pizza oven |
| Dough boxes or small lidded containers | Pizza, rolls, anything balled |
| Clear container or tall jar | Poolish, biga, levain |
| Stand mixer, spiral mixer, Thermomix | Optional. Every plan also has a hand method |
| Baking steel or stone, peel | Pizza and hearth bread in a kitchen oven |
| Turning peel | Pizza ovens only |
| Pans and tins | Detroit, teglia, deep dish, focaccia, tin loaves |
| Banneton, couche, razor blade | Hearth loaves, baguettes, ciabatta |
| Cast-iron pot with a lid, or a steam tray | Crusty bread |
| Wide pot, slotted spoon, deep pot, griddle | Bagels, pretzels, fried pizza, English muffins |
Measure
A kitchen scale that reads to 1 g
Every plan is written in grams, including the water. Cups cannot follow it: a cup of flour swings by 20 g or more depending on how you fill it. Any flat digital scale that reads in 1 g steps will do the main job.
Check three things before buying. Capacity should be at least 5 kg, because a mixing bowl plus 1.5 kg of dough gets there fast. The display should stay visible under a wide bowl. And the scale should not switch itself off after 30 seconds while you are still pouring water.
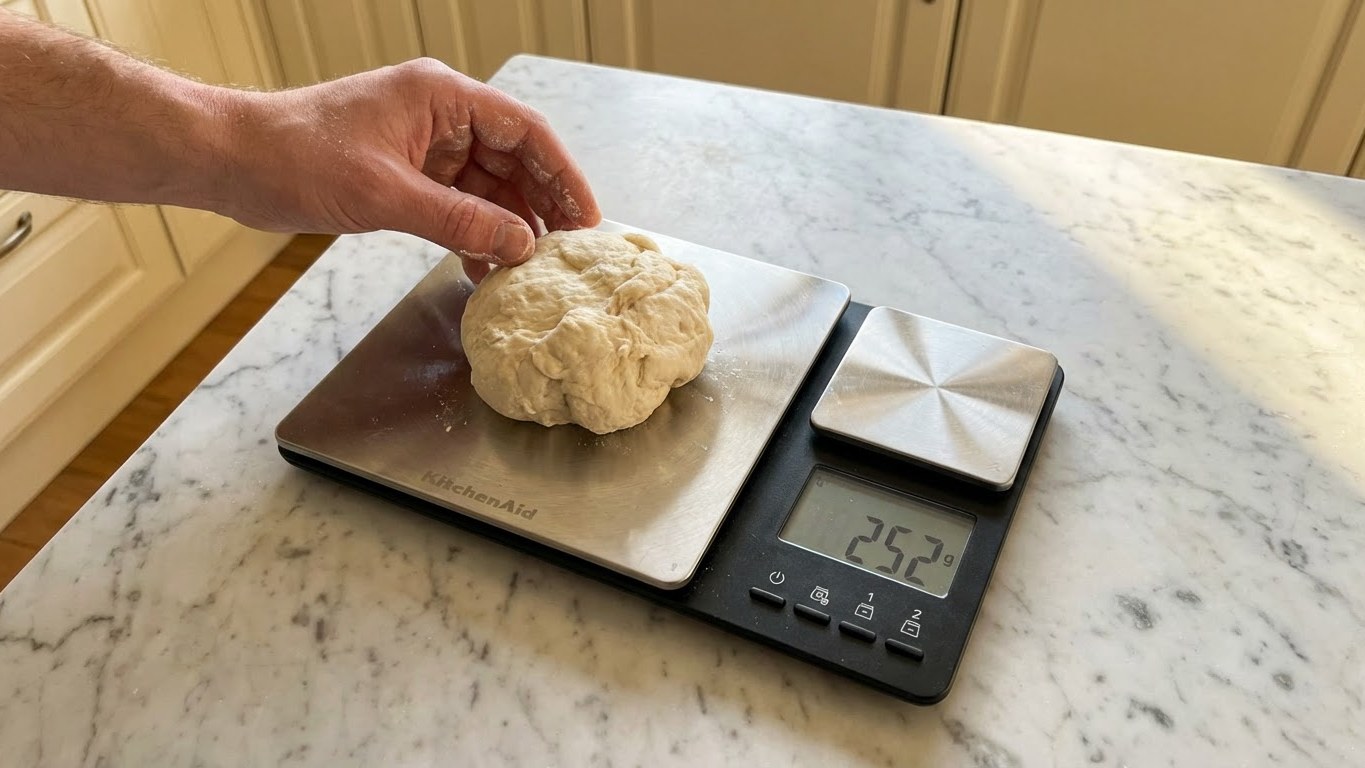
The scale comes out again when you divide the dough. Balls of 250 g that are really 230 g and 275 g bake at different speeds, and you notice it in a 90-second pizza.
A precision scale for yeast and salt
Here is the gap in most kitchens. A poolish for four pizzas can call for 0.4 g of yeast. A kitchen scale that counts in whole grams shows that as 0 or as 1, and either way the plan no longer matches the dough. A 72-hour cold dough has the same problem.
The instructions say it plainly: a scale that reads to 0.1 g or finer earns its place. We would go one step further and buy a pocket scale that reads to 0.01 g. On a 0.1 g scale a dose of 0.4 g can really be anything from 0.35 to 0.45 g. That is a 25% spread on the one ingredient that sets the clock.
What to look for: a capacity of 100–500 g, a small tray or lid that doubles as a weighing dish, and a calibration weight in the box. Draughts move the reading on a scale this sensitive, so weigh away from an open window.
A dual-platform scale puts both jobs in one body, with a big platform for flour and a small one for yeast. Read the small platform's resolution before you buy, because it differs from model to model.
Three scales with specs we checked:
- KitchenAid KQ909, the scale in our recipe photos. The large platform takes 5 kg in 1 g steps, and the small one is listed at 500 g in 0.01 g steps.2
- Ooni Dual Platform Digital Scales. Up to 10 kg in 1 g steps on the large platform and up to 200 g in 0.1 g steps on the small one, with both readings on one display.3
- American Weigh Scales AWS-100, a pocket scale: 100 g in 0.01 g steps and a 10-year warranty. The calibration weight is sold separately, or included in the AWS-100-CAL version.4
You can skip it if you bake same-day dough with several grams of yeast. If your scale cannot read the dose, the instructions give a fallback: 0.4 g of instant dry yeast is a scant 1/8 teaspoon, and a fingertip pinch is roughly 0.1 g.
A probe thermometer
Temperature decides how fast dough ferments, and the plan is built on it. The calculator gives you a water temperature that lands the mixed dough on target. You check the water before mixing and the dough after kneading. Later, the same probe tells you when a loaf is baked through: 93–99°C in the centre.
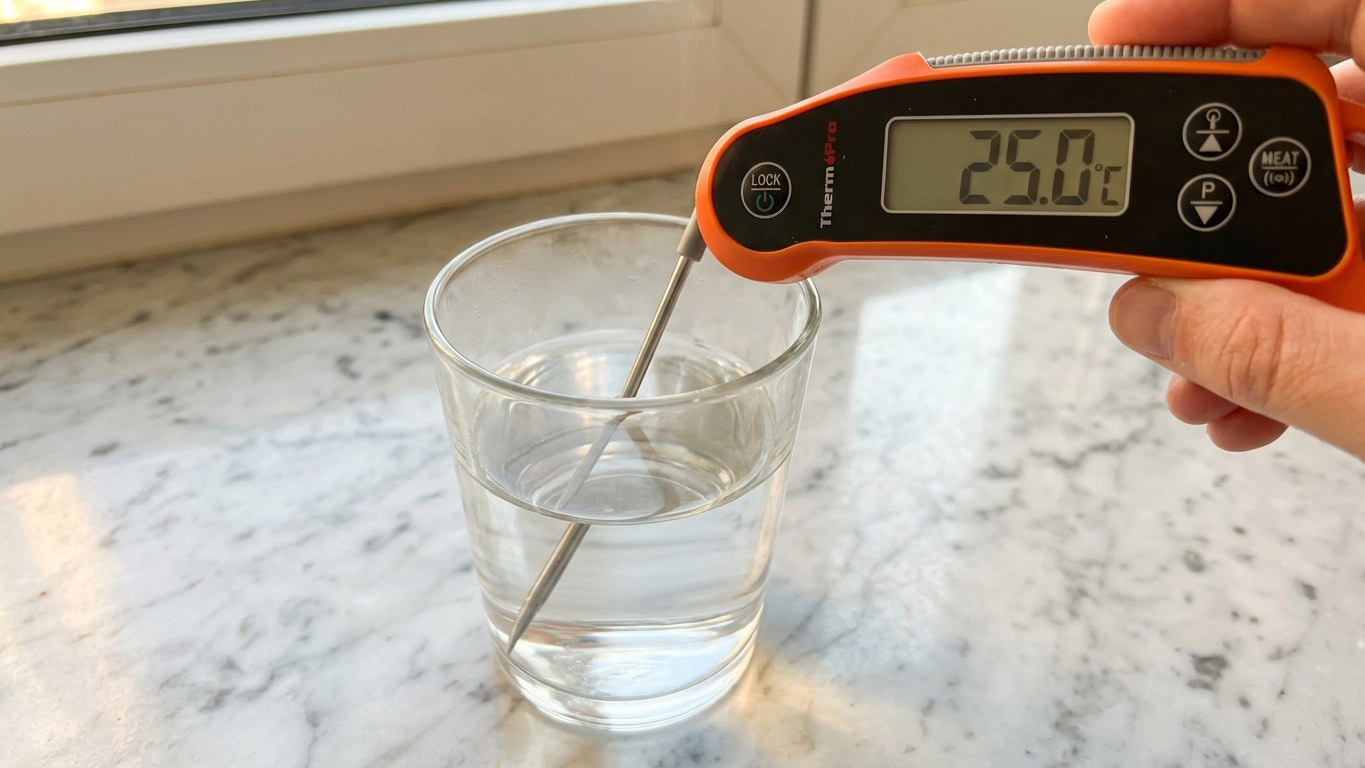
What matters is speed and a thin tip. A reading in 1–3 seconds means you will use it every time. A slow dial thermometer stays in the drawer. Look for accuracy of ±0.5°C, a folding probe about 10 cm long, and a body you can rinse.
The budget pick is the TempPro TP19H, sold for years under the ThermoPro name. It reads in about 1 second to ±0.5°C, covers −50 to 300°C, is rated IP65 and has a backlit display that rotates with your hand.5 The better pick is the ThermoWorks Thermapen ONE: a full reading in 1 second, ±0.3°C between −20 and 120°C, and an IP67 body.6 For dough the two read the same. The extra money buys build quality, which matters if the thermometer also lives next to a grill.
Mixers make the probe more important. A stand mixer, a spiral and above all a Thermomix warm the dough as they work, so the instructions ask you to probe the dough during a long mix and stop if it runs warm.
An infrared thermometer
A probe cannot read a surface. An infrared thermometer can, from a distance and in under a second. The plan uses it in two places.
The first is the counter. The plan's times are worked out for the room temperature you entered, and the dough rests flat on a surface that may not share it. A spot by a window or above an appliance can be several degrees off the rest of the kitchen. So the instructions ask you to measure the counter where the dough will rest. If it is more than 1–2°C off, correct Room temp in the calculator before you start.
The second is the baking surface. The instructions ask you to measure the stone in the centre, where the pizza will land, before every launch. Oven air reaches temperature in about 20 minutes. A steel or stone needs far longer, and in a pizza oven the floor cools with every pizza. The dial knows none of this.
What to look for:
- Range. A pizza oven floor runs at 400–480°C. Many cheap models stop at 380 or 400°C, so check that the ceiling is 500°C or higher.
- Emissivity. Infrared thermometers assume a matte, dark surface. That suits stone, seasoned steel, dough and most counters. Shiny bare metal reads far too low. An adjustable emissivity setting helps if you bake on new, bright steel.
- Spot size. The thermometer averages a circle that grows with distance. Hold it close, 20–30 cm from the surface.
Two models clear all three bars. The Etekcity Lasergrip 1080 reads from −50 to 610°C, has emissivity adjustable from 0.1 to 1.0 and a 12:1 distance-to-spot ratio.7 The Ooni Digital Infrared Thermometer reads from −30 to 550°C at 10:1, with adjustable emissivity that comes preset for baking stones.8
You can skip it for bread in a pot and for pan pizza. If you have none, the instructions tell you to give the stone or steel its full preheating time, which works. It only costs you certainty.
Fridge and oven thermometers
Two cheap thermometers close the last gaps. A fridge that shows 4°C can be 6°C on the shelf where the dough sits, and a kitchen oven set to 250°C can be 10–20°C off in either direction. A fridge thermometer with minimum and maximum memory and a plain oven thermometer on the rack show the real figures. We wrote a whole article on why your fridge is warmer than you think.
Mix
Bowls and a dough scraper
The first line of nearly every plan reads: set out a large bowl, a dough scraper and a lidded container. A wide bowl of 4–5 litres gives your hand room for 1 kg of dough. Small bowls matter too, because the instructions ask you to weigh every ingredient into its own bowl before water touches flour.
"Dough scraper" covers two tools, and it is worth owning both. A flexible plastic scraper follows the curve of a bowl, lifts dough out of a container and moves a proofed ball without squeezing it. A rigid steel bench knife divides dough cleanly and scrapes the counter. A blade about 15 cm wide is right for home batches. The OXO Good Grips Scraper & Chopper is a typical one: a stainless steel blade with measurement markings on the edge.9
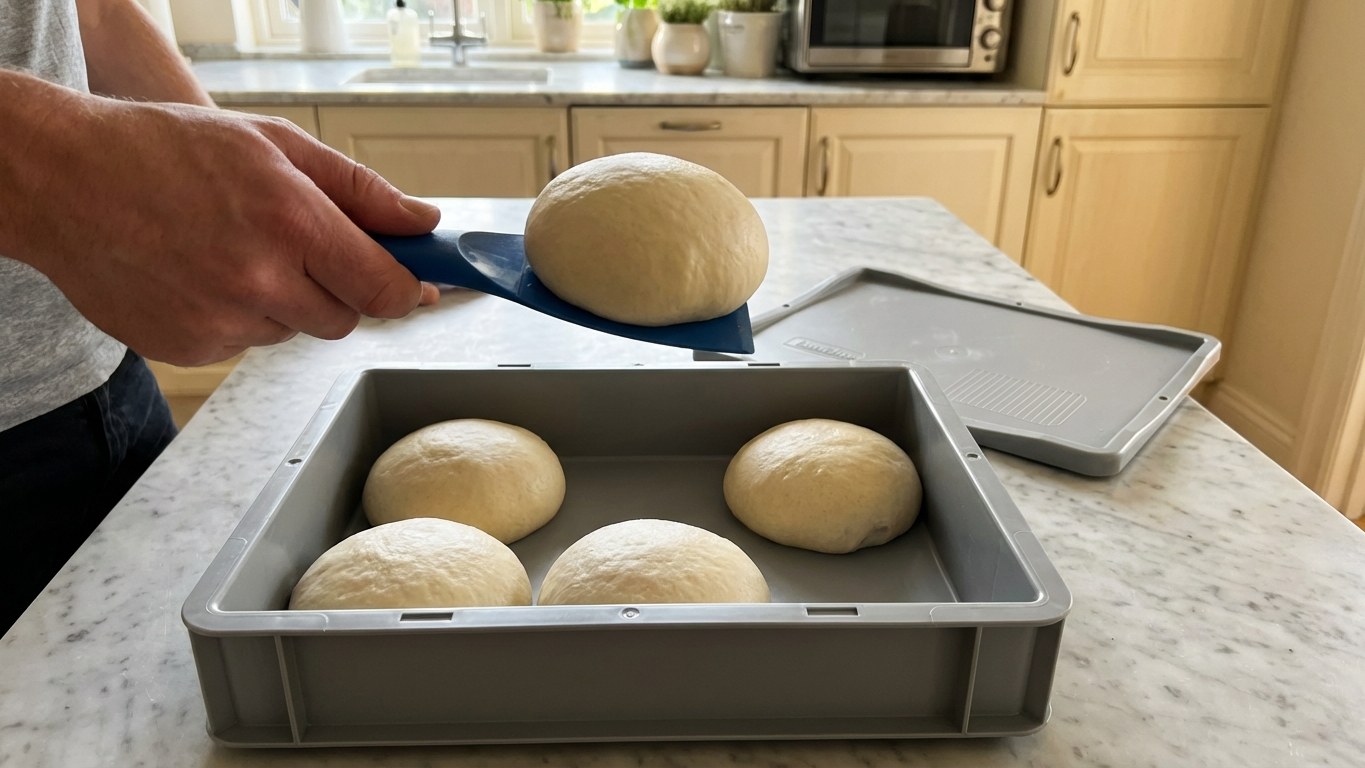
A dough whisk, the looped wire kind, is a pleasant extra for wet no-knead doughs. Your hand does the same job.
A stand mixer
A planetary stand mixer is the machine most home bakers already own, and the instructions have a full path for it. Two details from that path are worth knowing before you buy or bake.
Batch size comes first. Most home stand mixers need roughly 500–600 g of dough to knead well. Below that, the dough rides around the bowl without catching the hook. Above the maximum, the motor strains and heats the dough past the temperature the plan counts on, so the instructions split a large batch into equal parts. The second detail is speed. Dough is kneaded on low, which is speed 2 on a KitchenAid and never higher, often in two stints with a 5–10 minute rest between them.
Use the flat beater as well as the hook. A hook pushes pieces of a stiff biga around the bowl without cutting them in, so the instructions start with the flat beater for about a minute and change to the hook once a rough ball forms.
A spiral mixer
A spiral mixer is the tool for larger and wetter batches. The bowl turns, the spiral stays in place, and a breaker bar holds the dough against it. Home models knead from under 1 kg to 5 kg and more, and a stiff biga does not trouble them.
Check the minimum batch before you buy. Below it, the dough rides on the breaker bar without being kneaded, and a mixer sized for 5 kg is the wrong tool for two pizzas. A spiral also warms the dough as it works, which is why the plan may ask for cooler water than you expect.
Pandough keeps a catalog of mixers with bowl sizes and batch limits. Pick yours in the calculator and the plan adjusts the water temperature for the heat it adds, and tells you when a batch is too small or too large for it.
Thermomix and food processors
A Thermomix can make dough, and the instructions cover it. Its blade heats dough faster than any hook, so the plan asks for colder water, works in short bursts and warns that the step from done to over-kneaded can be as little as 20–30 seconds. Keep the probe thermometer next to it. A food processor has one narrow use here: pulsing a stiff biga with flour into crumbs before the main mix.
You can skip all three machines. Every plan has a hand method, and at 65–70% hydration a few sets of folds build the same dough.
Ferment and store
A flat container with a lid for the bulk dough
This is the tool people most often get wrong, and the old habit of a deep bowl is the reason. Pandough's temperature model treats the bulk dough as a slab about 3 cm thick. A slab that thin cools quickly and evenly in the fridge, so the whole dough ferments at one pace. A 2 kg ball in a deep tub keeps a warm core for hours.
So the instructions ask you to tip the dough into a lightly oiled, flat container and press it out into an even slab. As a rule of thumb, 1 kg of dough at 3 cm needs about 300 cm² of floor. A 20 × 30 cm container takes roughly 2 kg.
What to look for:
- A flat base and straight walls, so the slab keeps one thickness from edge to edge.
- A lid that seals, because fridge air dries dough fast.
- Height of 8–10 cm, so the dough can rise without touching the lid.
- A rectangular shape if you make ciabatta or pan pizza. It gives you a rectangle that only needs cutting.
Metal carries the cold best, and a lidded stainless or aluminium food pan is the better pick. A clear plastic box is cheaper and lets you see the bubbles at the wall, which is how the instructions tell you to judge the bulk.
Dough boxes for balls
Balls need a lid, a flat base and neighbours. Set 2–3 cm apart in a dough box, they support each other and rise upward instead of spreading. In an airtight box they need no oil.
Professional dough trays measure 60 × 40 cm and fit no home fridge. Measure your shelf first, then look for a home-size box around 30 × 40 cm that holds 4–6 balls of 250 g. The Ooni Pizza Dough Boxes are one example: a set of two boxes with lids, each 42.3 × 32.3 × 9.3 cm and sized for up to six 250 g balls.10 Stackable boxes save a shelf. Stack them only once the dough has cooled, though: closed boxes stacked warm hold the heat in and drip condensation onto the balls.
For one or two pizzas, individual round containers with lids, each a little wider than the ball, work just as well. Our article on flat pizza dough balls explains what happens when the container is too big.
Containers for preferments
Each preferment wants its own shape of container, and the instructions name all three.
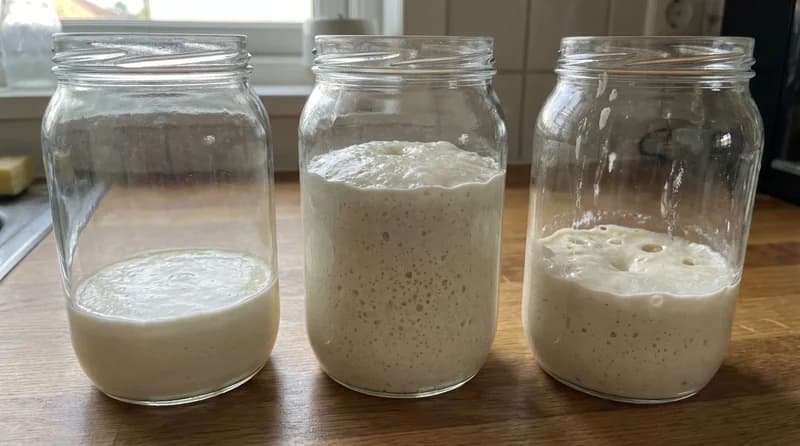
- Poolish: a clear, round container at least twice the size of the mix. Clear, because you judge it by the bubbles and the dome. Straight walls let you mark the starting level with a rubber band and read the rise.
- Biga: a lidded container about 3 times the volume of the flour. The instructions pour the water over the flour, shut the lid tight and shake hard until no dry flour is left, which wets a stiff biga without kneading it. For a large batch, a wide, deep bowl and a clawed hand do the same in 3–6 minutes. Either way the lid must seal, because cold air dries a biga quickly.
- Levain: a tall, narrow jar. A wide one spreads the levain thin, lets it swing with the room temperature and hides its rise.
A 1-litre deli tub, a food-storage box with a tight lid and a preserving jar cover all three for the price of a coffee. Add a jug that fits in the fridge door: on a hot day the plan asks for water colder than the tap gives. More on timing in our guide to poolish and biga.
Bags and film
Shaped loaves, trays of rolls and bannetons go into the fridge inside a large plastic bag. A clean, reusable 10-litre food bag is the tool. Film works on pans, as long as it does not touch the dough.
Shape
Dusting flours. Semola, rice flour and cornmeal are consumables, not gear, but the instructions lean on them. Semola rimacinata under a pizza keeps it sliding on the peel. Rice flour stops a wet loaf sticking to a banneton. Keep 500 g of each in the cupboard.
A banneton. A proofing basket holds a soft hearth loaf in shape during its final proof, seam up. Cane or wood pulp both work. Size it to your loaf. Breadtopia rates its round rattan basket, 8.5 inches (about 22 cm) across the rim, for 680–1130 g of dough.11 A bowl lined with a well-floured linen towel does the same job for free.
A couche. Baguettes and ciabatta proof between the folds of a floured cloth. A proper couche is heavy, untreated linen, 60 cm wide or so. A thick linen tea towel is a fair stand-in. Add a thin board or a strip of stiff card to roll the baguettes off the cloth.
Baking paper. Loaves are turned out onto it, rolls proof on it, and a pizza that refuses to launch can be built on it and slid onto the steel, paper and all. Check the temperature printed on the box. Most papers are rated to 220–230°C and darken above that.
A rolling pin. Only for styles with a flat, even base. Thin-crust pizza is rolled to 2–3 mm and pricked all over with a fork, and deep dish dough is rolled about 10 cm wider than the pan. For Neapolitan pizza the instructions are blunt: never use one.
Bake pizza
A steel or a stone
A kitchen oven's air is hot in 20 minutes. What bakes the base is the heat stored in a heavy slab under it, and that takes 45–60 minutes to charge.
Steel passes heat to dough faster than stone, which is why it wins at kitchen-oven temperatures of 250–300°C. Look for 6 mm thickness as a minimum and a size that leaves 2–3 cm of air on every side of the rack. Weight is the price. The Baking Steel Original measures 14 × 16 inches (about 36 × 41 cm), is 6.35 mm thick and weighs 15 pounds, close to 7 kg.12 Check that your rack can carry it.
A cordierite stone is lighter on the wallet and kinder to bread, which can scorch on steel. Choose one 1.5–2 cm thick, because thin stones crack and store little heat. The Unicook stone we link to is cordierite, 15 × 12 inches (38 × 30.5 cm) and 0.6 inches (1.5 cm) thick.13
You can skip both to begin with. A heavy baking tray turned upside down and preheated the same way bakes a decent pizza with a paler base. Pan pizza benefits too, since the pan goes straight onto the hot steel.
Peels
A peel moves the pizza from the counter to the stone in one pull. You need a head as wide as your pizza, so 30–33 cm for a kitchen oven and most portable pizza ovens.
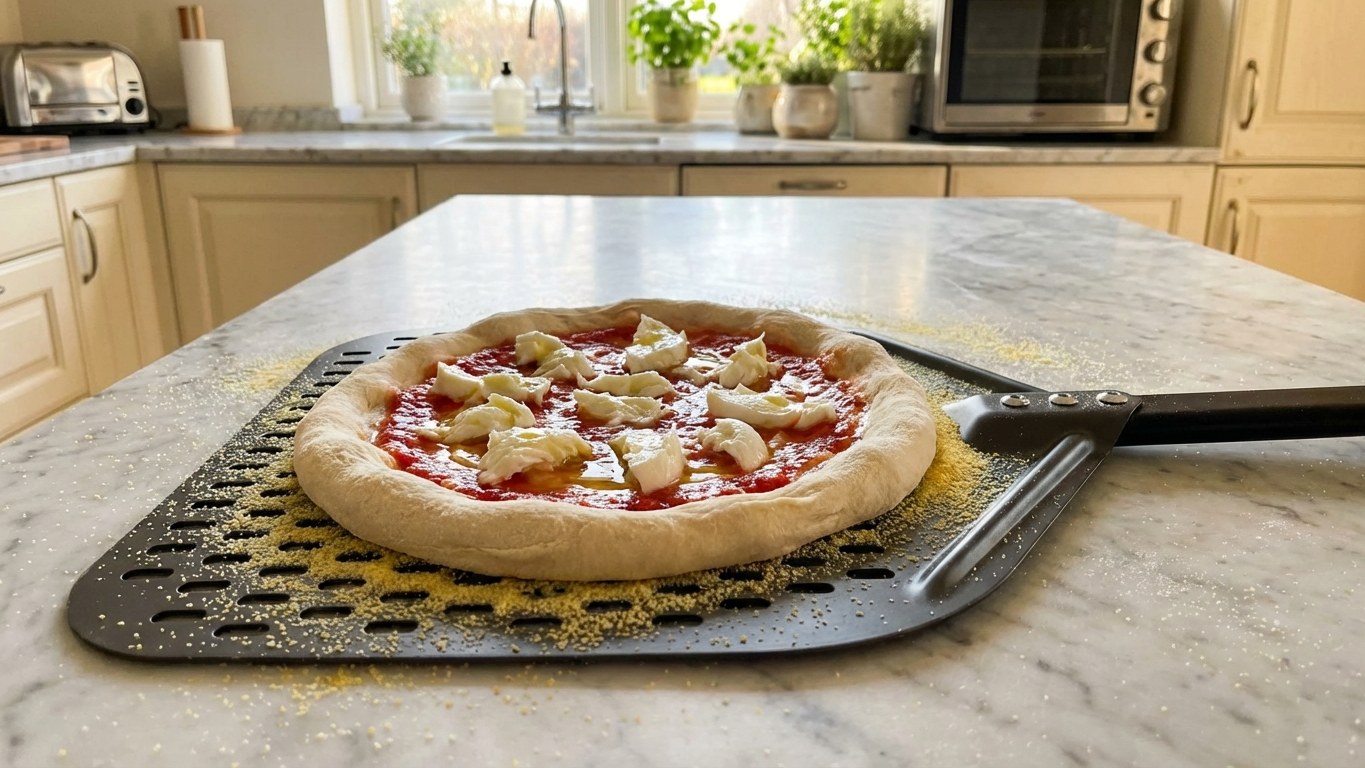
Wood and bamboo grip wet dough less, which makes them forgiving for a first launch. Perforated metal is thinner, slides under a baked pizza and sheds loose semola before it can burn. If you buy one peel, buy perforated metal and dust it lightly. Ooni makes both kinds in a 12-inch (30.5 cm) width: a perforated peel in anodised aluminium and a bamboo peel that doubles as a serving board.14
A turning peel is a small round metal head, 18–23 cm, on a long handle. In a pizza oven you turn the pizza every 20–30 seconds, and a separate turning peel keeps the launching peel cool and dry. Ooni's turning peel comes with a 7-inch or a 9-inch head and is about 80 cm long.14 GI.Metal, the Italian maker pizzerias use, sells perforated stainless turning peels with heads from 6.5 to 10 inches and handles from 29 to 71 inches, so measure your oven first.15 In a kitchen oven you turn once, halfway through, and tongs do it.
With no peel at all, the dusted back of a baking tray launches a pizza.
A pizza oven
No tool changes pizza more, and no tool is less necessary to start. A kitchen oven with a steel bakes very good pizza at 280°C. A Neapolitan pizza baked in 60–90 seconds needs a floor at 430°C or more, and that needs a dedicated oven. Our oven catalog lists real floor temperatures and preheating times, and the calculator sets hydration and the bake plan for the oven you pick.
Pans and trays
Pan styles need their own pan, and the pan is half the recipe.
- Detroit: a deep rectangular pan with sloped walls, where cheese is laid against the metal to fry into a crust. The classic size is 8 × 10 inches for a small pizza and 10 × 14 for a large one. The LloydPans pan we link to is the 8 × 10: anodized aluminium, 2.38 inches deep, with a finish that needs no seasoning.16
- Teglia and focaccia: a shallow rectangular tray in blue steel or aluminium. A 30 × 40 cm tray fits most 60 cm kitchen ovens.
- Deep dish: a round pan with a straight wall 5 cm high, since the dough is worked up the side.
- Tin loaves: a loaf tin, lightly greased even when it is non-stick. A standard small tin is the 1 lb size, such as the USA Pan in aluminized steel: 8.5 × 4.5 × 2.75 inches, or about 22 × 11 × 7 cm.17
Dark metal browns a base better than bright metal. Bare steel pans need seasoning like a cast-iron pan and must be dried at once after washing. Coated and anodized pans skip that step.
A wire rack
A pizza or loaf left on a board steams its own base soft within 2 minutes. A wire rack costs little and fixes that. The instructions send every bake to one.
Bake bread
A cast-iron pot with a lid
A lean loaf needs steam for its first 20 minutes, and the simplest steam generator is the loaf itself, shut inside a heavy preheated pot. The instructions heat the pot for 30–45 minutes, lower the loaf in on baking paper and bake with the lid on, then off.
What to look for: 4–5 litres for a loaf of about 1 kg, a lid that seats all the way round, and handles you can grip in thick mitts. Bare cast iron is cheap and lasts for decades. Enamelled pots work as well, with one warning from the instructions: some have a plastic knob that does not survive this heat, so check yours or swap it for a metal one.
The better pick is a combo cooker, a shallow skillet with a deep pot as its lid. The loaf goes onto the shallow half, so you never lower dough into a 250°C well. The Lodge Combo Cooker is the best-known one: seasoned cast iron, 3.2 quarts (about 3 litres), with a 10.25-inch skillet that serves as base or lid.18 Lodge's 5-quart Dutch oven is the roomier classic shape.
No pot? Heat a stone or steel in the lower third of the oven with a heavy empty tray on the oven floor. Pour a cup of hot water into the tray as the loaf goes in and shut the door at once. Use a jug with a long spout, and lay a towel over the door glass while you pour, because a drop of water can crack hot glass.
A razor blade
Scoring decides where a loaf opens. A razor blade does it in one quick stroke, and a kitchen knife drags. A lame is nothing more than a handle for a double-edged razor blade. Buy one with replaceable blades, such as the Breadtopia lame, which takes ordinary double-edge blades and ships with 5,19 or hold a blade on a wooden coffee stirrer. Baguettes want the blade almost flat, for 4 or 5 overlapping slashes.
Oven mitts, foil and the small things
Thick oven mitts that cover the wrist are safety gear when you handle a pot at 250°C. The instructions add a habit worth copying: leave a mitt on the hot lid while it sits on the counter, so nobody grabs it bare-handed. A sheet of foil shields a crust that darkens before the centre reaches 93°C. A pastry brush handles egg wash on buns and melted butter on naan. A thin spatula lifts a corner of a pan pizza so you can check the base before the 15 minutes are up, and a serrated knife cuts a stiff biga into pieces for the mixer.
Boil, fry and griddle
Four bakes leave the oven for part of the job. Each needs one or two tools you probably own.
- Bagels and pretzels: a wide pot of 4–5 litres and a slotted spoon. Bagels boil for about 1 minute per side. Pretzels take a 30-second dip in a baking soda bath, 50–60 g per litre. The instructions do not use lye.
- Fried pizza: a deep, heavy pot filled no more than half, a thermometer that stays in the oil and reads to at least 200°C, a ladle for basting, and a rack over a tray for draining.
- English muffins and flatbreads: a griddle or a heavy frying pan over low to medium heat. If you have no surface thermometer, start lower than you think you need. A pan that browns the first side within 2 minutes is too hot. Cast iron holds a steady heat best, and the Lodge 10.5-inch round griddle is a simple example.18
What you can skip
- A proofing chamber. The plan is calculated for your real room and fridge temperatures. Measuring them costs less than controlling them.
- A dedicated dough-rising bucket with a volume scale. Any clear, straight-walled container and a rubber band show the same rise.
- A laser-guided, app-connected anything, until the basics are in place. The 0.01 g scale and the probe thermometer change more than every gadget after them.
- Two of everything. One steel, one peel and one good container will carry you through your first 100 pizzas.
Plan a dough around the tools you have
The calculator asks which oven and mixer you use and what your kitchen and fridge temperatures are, then builds the plan and the step-by-step instructions around them. Try it with the numbers from your own thermometer.
Upravit tento recept
Přepínej mezi Caputo Pizzeria a Caputo Nuvola a sleduj, jak se mění optimální parametry těsta.
FAQ
Sources
Product specifications were read from the pages below on 2026-10-06. Makers change them, so check before you buy.
- Pandough step-by-step instructions and thermal model: tool names, the 3 cm bulk slab, mixer batch limits, preheating times and the 93–99°C doneness range quoted above come from the app's own plan.
- KitchenAid KQ909 Dual Platform Digital Kitchen Scale, retailer listing with the maker's specification: 5000 g × 1 g and 500 g × 0.01 g.
- Ooni, Dual Platform Digital Scales: 10 kg × 1 g and 200 g × 0.1 g.
- American Weigh Scales, AWS-100 digital pocket scale: 100 g × 0.01 g, calibration weight not included.
- TempPro, TP19H instant-read thermometer: response time, accuracy, range and IP65 rating.
- ThermoWorks, Thermapen ONE: reading time and IP67 rating. Accuracy by range from the specification sheet at a retailer.
- Etekcity, Lasergrip 1080 infrared thermometer: range, emissivity and distance-to-spot ratio.
- Ooni, Digital Infrared Thermometer: range, emissivity and distance-to-spot ratio.
- OXO Good Grips Multi-Purpose Scraper & Chopper, retailer listing: stainless steel blade with measurement markings.
- Ooni, Pizza Dough Boxes: contents, dimensions and capacity.
- Breadtopia, Round Rattan Proofing Basket: rim diameter and recommended dough weight.
- Baking Steel, The Original Baking Steel: dimensions, thickness and weight.
- Unicook, 15 × 12 inch pizza stone: material, dimensions and thickness.
- Ooni, Perforated Pizza Peel, Bamboo Pizza Peel & Serving Board and Pizza Turning Peel: materials and dimensions.
- GI.Metal USA, stainless steel perforated small pizza peel: head sizes and handle lengths.
- LloydPans, Detroit style pizza pans: material, finish and dimensions.
- USA Pan, loaf pan, 1 lb volume: material and baking-surface dimensions.
- Lodge Cast Iron, Combo Cooker and 10.5 inch round griddle: capacity, parts and size.
- Breadtopia, Bread Lame: blade type and contents.
* Jako partner programu Amazon získává Pandough provize z kvalifikovaných nákupů.
Co je Pandough?
Pandough je správce těsta, který sestaví přesný plán podle tvé mouky, kuchyně, pece a časových možností.
Vyzkoušet kalkulačku